Uploading/Inserting an Image
This document will show how to upload an image and place it on the page.
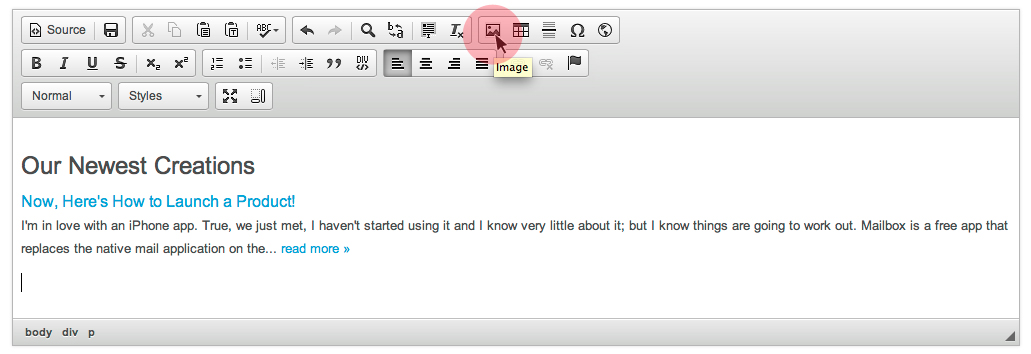
- Place your cursor where you would like the image to be placed and go up to the top right part of the icons and click on the Image button.
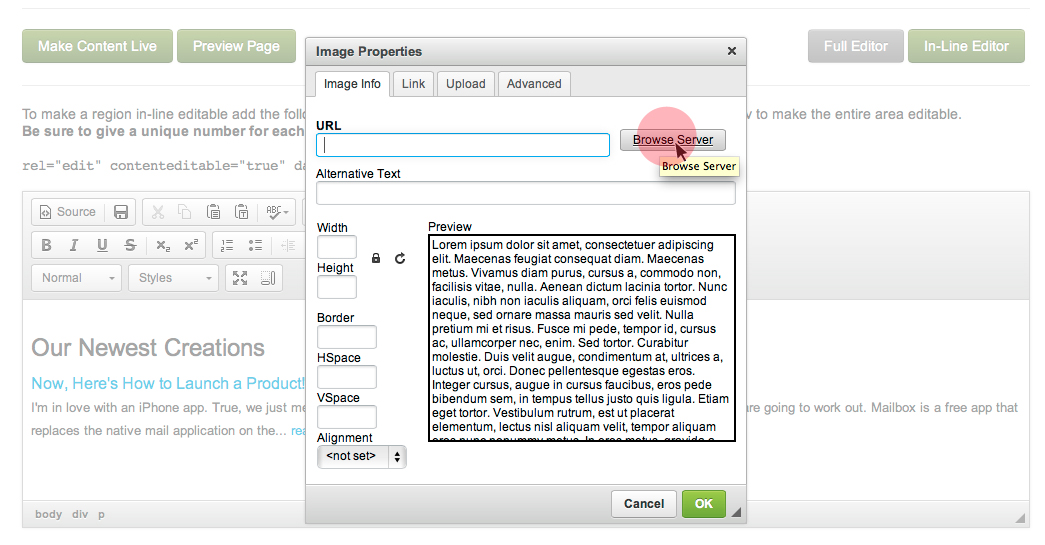
- This will bring up a window where you can attach or edit images. Click on the Browse Server button. This is where you find your photo.
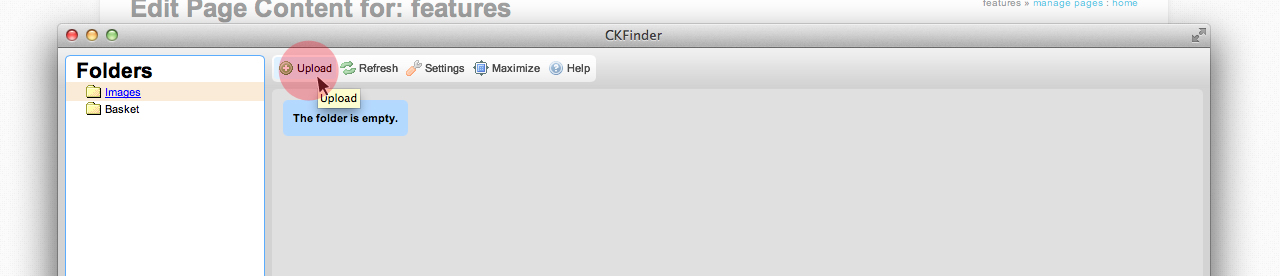
- Another window will pop up and this is where the photos will be added. The photos need to be added here before you place them on the page. On the left, there can be a variety of different image folders, so click on the one you want to add your photo to.

- When you have the folder you want selected, hit the upload button to upload your photo.
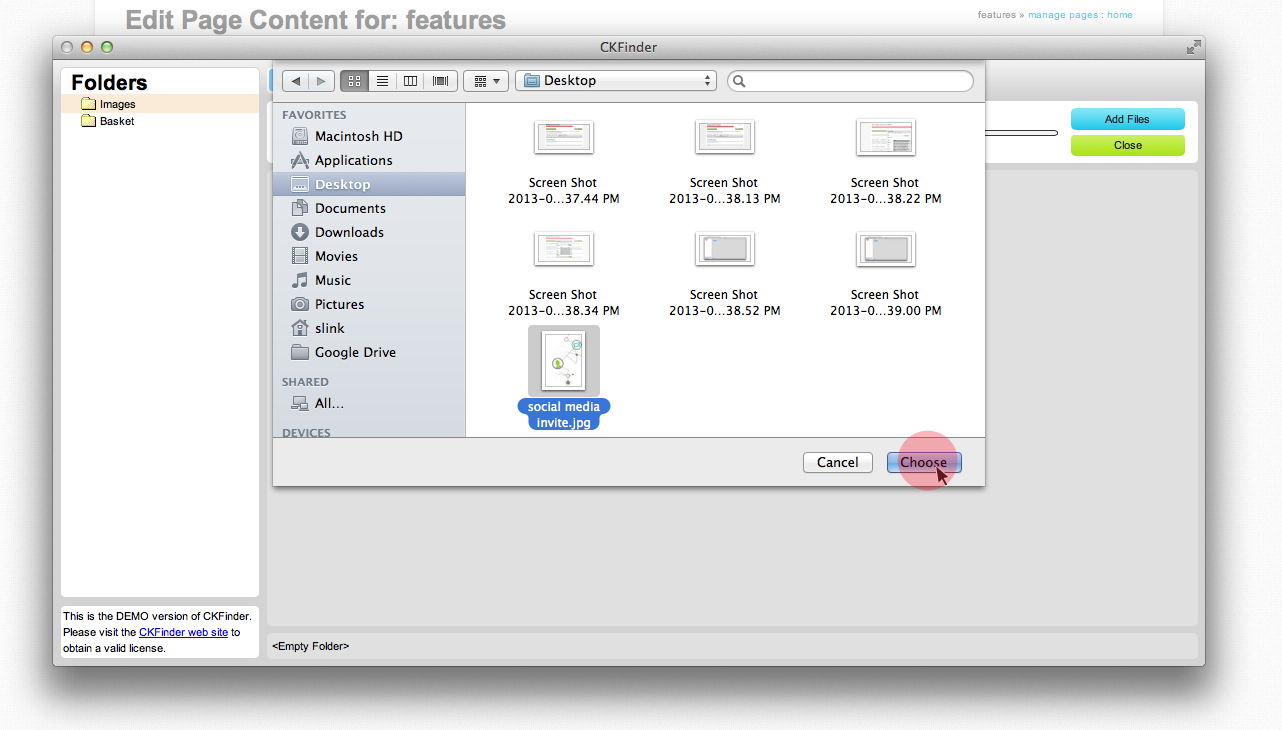
- The window below will pop up and here is where you can find your photo on your computer. When you have found it, select the image and hit the Choose button. This will put your image in the images folder.
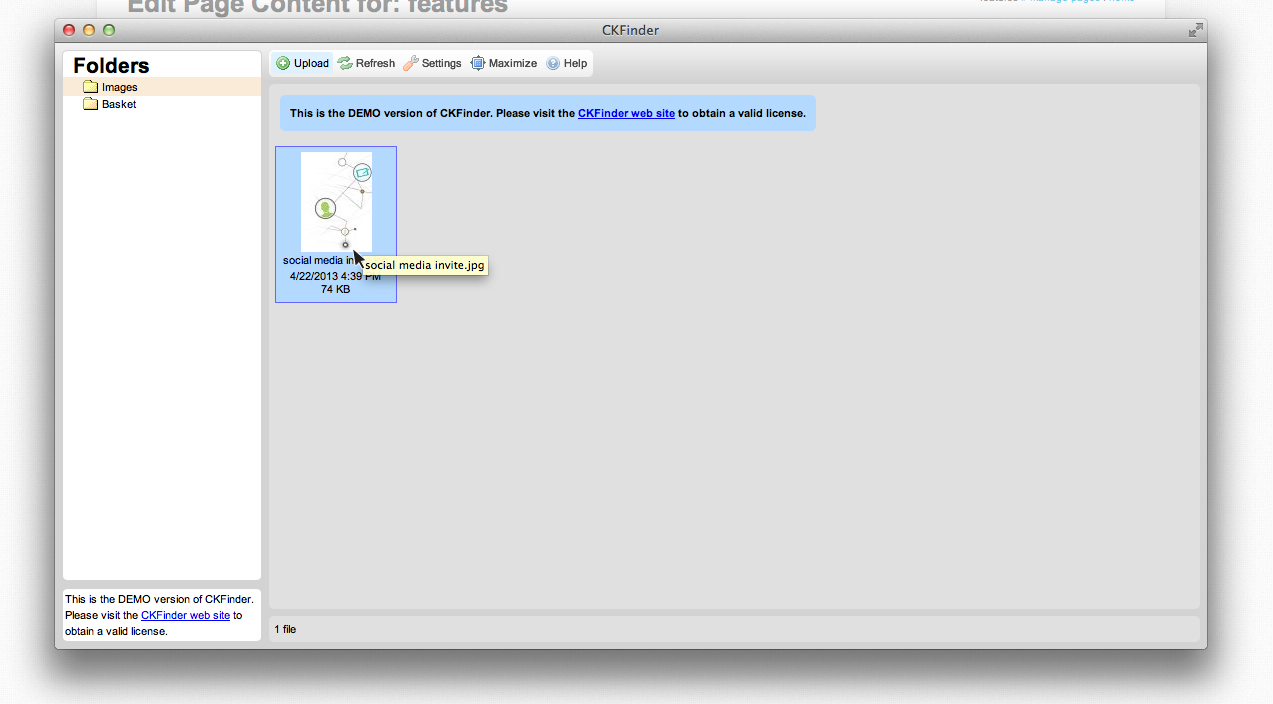
- Now your image in the images folder, so now all you need to do is double click on the file.
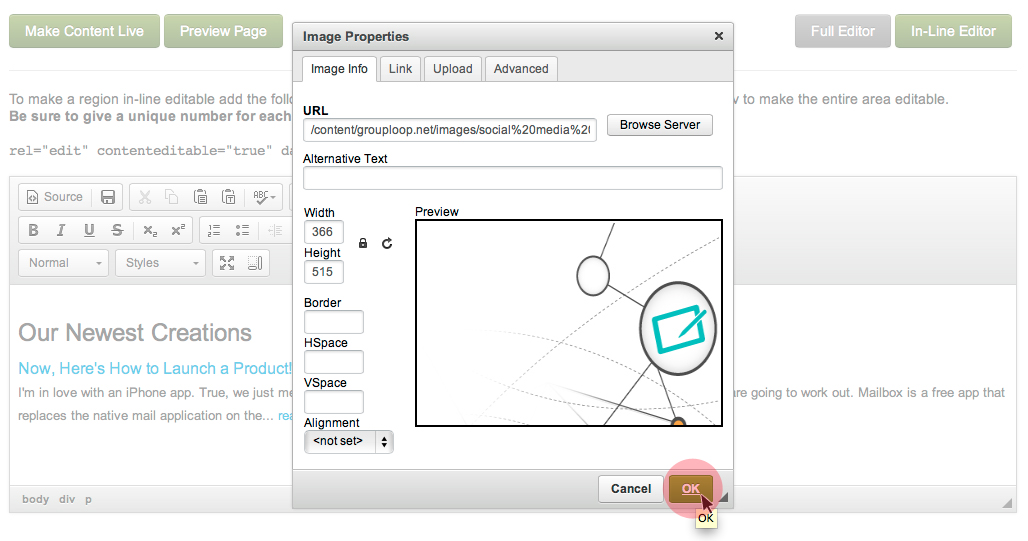
- The window will close and bring you back to the first window. If there are no other settings that you want to change, click the green Okay button. If you want to know more about the image settings, this document will tell you more: Image Settings
- The image has now been placed in the document and you are done! If you would like to link an image, reference this document: Linking an Image