Uploading Images to a Gallery
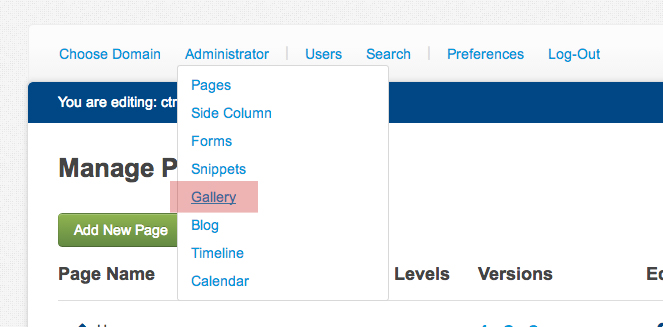
1) If you want to add new images or remove others, go up to the top nav and hover over the Administrator and a pop up menu will appear. Click on Gallery.
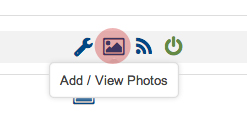
2) This will bring up the gallery page. If you have more than one gallery, they will all show up here. To edit the images, click on the Image icon on the left.
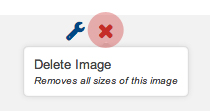
3) Now you can add a photo or delete one. All the images shown are the ones that are in the gallery. To delete the photo click on the red X on the right side.
4) To add a photo, click on the green  A new page will come up and that is where you will add all the information.
Image title: You can name the image so that in the list it is easier to identify the image.
Browse Image: Click Choose File and it will pop up the CK Finder. Click on the upload button on the top left and find the image on your computer. When you are done, click OK.
Image Description: You can add a description to the image, but this option does not apply to all galleries, so even if you add a description, it may not show up.
Assign to Gallery: This only applies if you have more than one gallery. If you do have more than one, just click on which gallery you want the image to go in.
Create Image Size: Each gallery will have a different size. The eCMS resizes your images for you. So just click on the sizes that apply to your gallery. If you need to know sizes to have your images saved at, go back to the Gallery page and the images that have already been uploaded will show which sizes were selected.
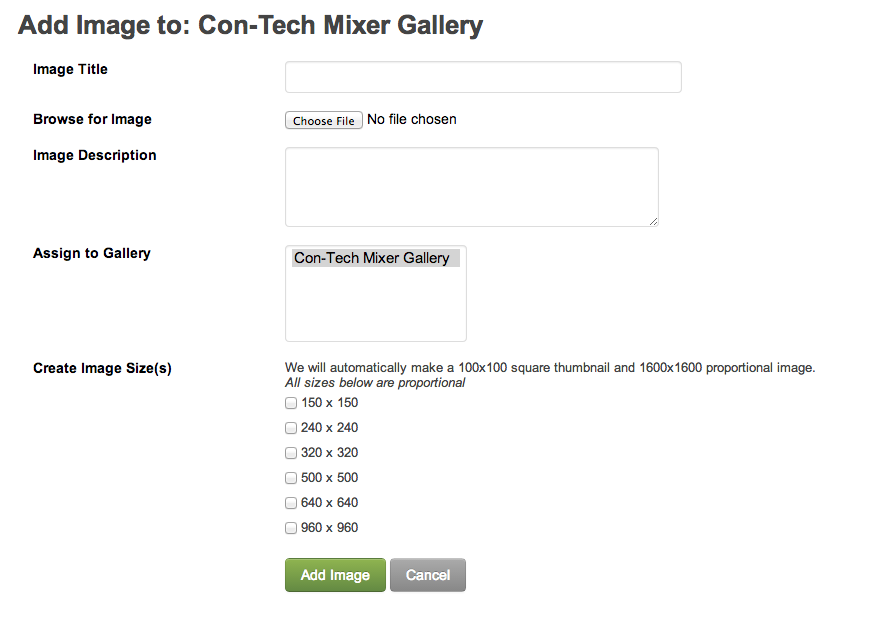
Once you have added all the information, click on the green button and you are done.
5) You can always go back and edit the image settings by click on the blue 