Resizing Photos
Overview
This document will show how to resize your photos before placing them on your site. It is a good idea to resize your photos for a few reasons:
- Large photos take longer to load.
- The image will fit the content area better.
- You can remove distractions in the photo.
Recommended Photo Sizes for Content
- Large Photo (Feature/Header image)
- Portrait: ~400px Wide by ~600px Tall
- Landscape: ~600px Wide by ~400px Tall
- Medium (Fills about half of your main content area)
- Portrait: ~200px Wide by ~300px Tall
- Landscape: ~300px Wide by ~200px Tall
- Small (Fills about a quarter of your main content area)
- Portrait: ~100px Wide by ~150px Tall
- Landscape: ~150px Wide by ~100px Tall
- Open the photo with Pixlr Express (http://pixlr.com/express)
- Click on Browse.
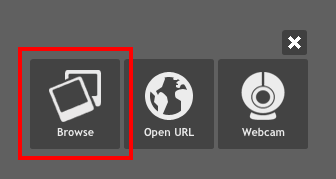
- Locate the photo on your computer, and open it.
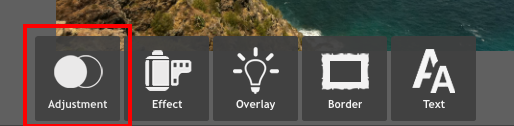
- When your photo appears on the screen click on the Adjustment button at the bottom of the page:
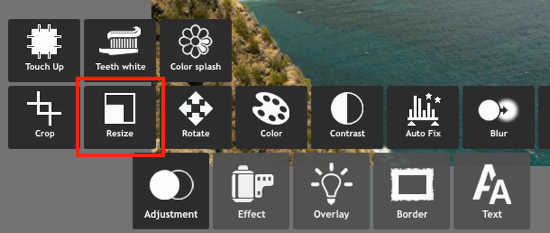
- Click on the Resize button:
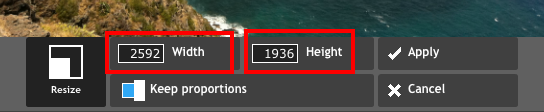
- Enter your desired width or height. If Keep Proportions is active the other dimension will be changed automatically to prevent distortion:
- The photo is now resized. Zoom to 100% to see actual size:
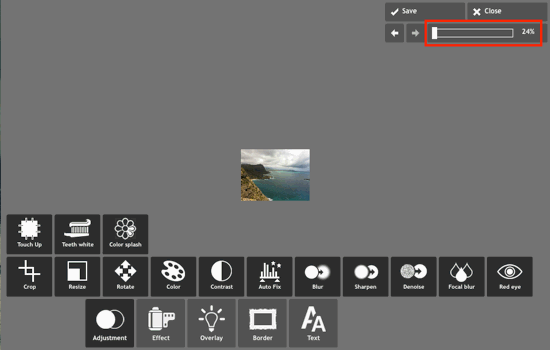
- Once you are satisfied with your changes to the photo, click the Save button in the upper right corner of the page:

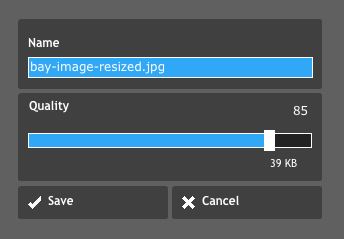
- Name your resized photo, and choose the desired photo quality (recommended quality is around 70), then click the Save button:
- Choose where you would like to save the photo on your computer.