Creating an Anchor Tag
This document will explain how to create an anchor tag and how to link to it. Anchor tags allow you to jump to a specific location on a page. Creating an anchor tag and linking it is a two step process. First we will show you how to create an anchor tag, then we will show you how to link to that specific anchor.
- Select the text you would like the link to go to.

-
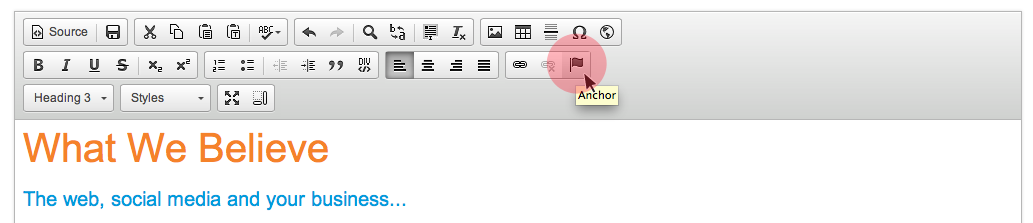
Go up to the Anchor link icon
 and click it.
-
A window will pop up and this is where you name the anchor. Name the anchor in the and press the green Okay button.

-
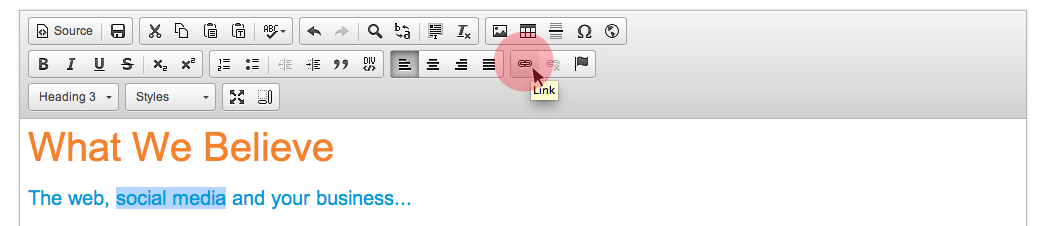
You now have created an anchor, but now you have to link to that anchor. Select the text that will be the link. I have selected some text on the top of the page, because the anchor was made on the bottom of the page.

-
Select the Link icon
 and it will popup a window.
-
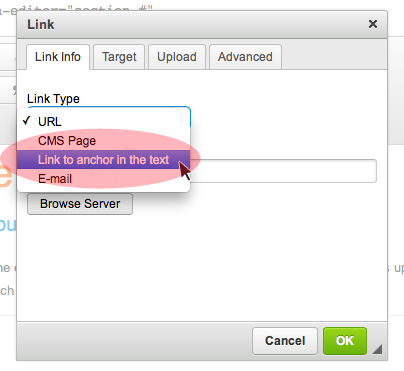
Click on the menu arrow and select “Link to anchor in text”.
-
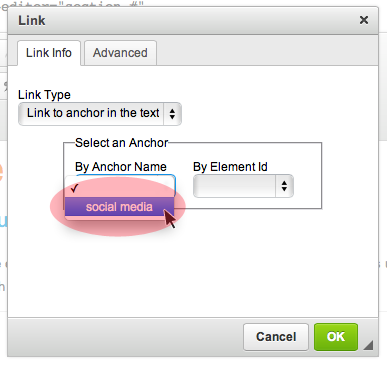
Now you can click on the menu options and select which anchor you want to link to. Select the one you just made. You can make as many anchors on a page as you want, so the list to choose from could range from a few to many.
When you have selected the one you want to link to, press the green Okay button.
-
You are done, you have now created an anchor link. As you can see below, you can tell where an anchor link is because it will have a red flag next to it.
If you want to know other ways to link URLs, emails or images check out these documents: Creating URL and Email Links and Linking an Image.